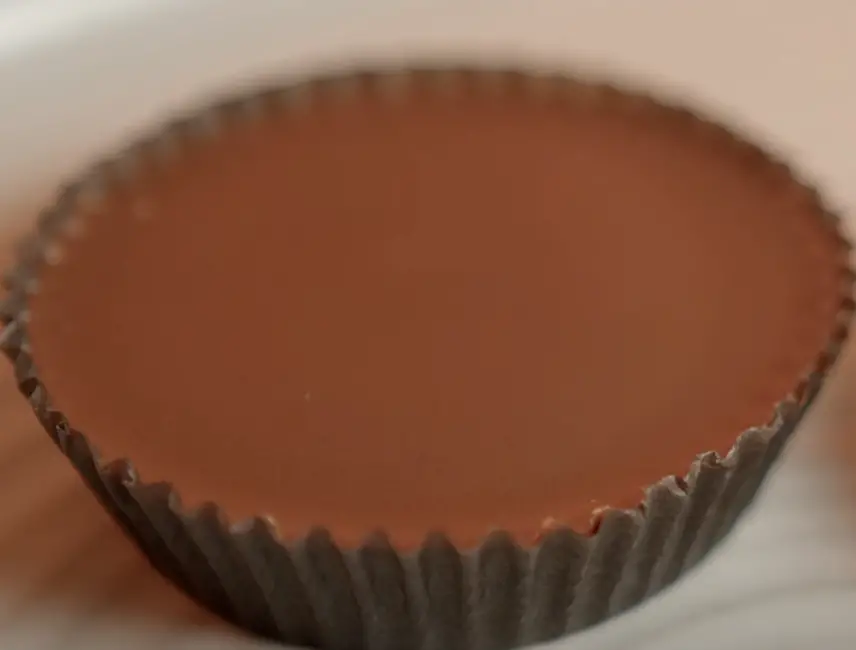
Indulge in the delightful harmony of sweet and nutty flavors with Peanut Butter Marshmallow Cups. This delectable treat combines the creaminess of peanut butter with the gooey goodness of marshmallow, creating a bite-sized masterpiece that’s perfect for satisfying your sweet cravings. Join me on a culinary adventure as we delve into the step-by-step process of crafting these heavenly cups that are bound to become a favorite indulgence.
INGREDIENTS: CREATING SWEET MAGIC
Gather the following ingredients for this sweet symphony:
- 1 cup creamy peanut butter
- 1/2 cup powdered sugar
- 2 tablespoons unsalted butter, softened
- 1 teaspoon vanilla extract
- Pinch of salt
- 1 cup marshmallow fluff
- 12 ounces semisweet or dark chocolate, chopped
- 1 tablespoon coconut oil (optional, for smoother chocolate)
INSTRUCTIONS: CRAFTING SWEET PERFECTION
1. Peanut Butter Filling:
- In a mixing bowl, combine creamy peanut butter, powdered sugar, softened butter, vanilla extract, and a pinch of salt. Mix until the ingredients form a smooth and well-incorporated mixture. This will be the delectable filling for your Peanut Butter Marshmallow Cups.
2. Marshmallow Layer:
- Spoon a dollop of marshmallow fluff into each cup of a mini muffin tin, creating a small well in the center. Ensure the fluff is evenly distributed among the cups.
3. Peanut Butter Filling Assembly:
- Roll the peanut butter mixture into small balls and gently press each ball into the center of the marshmallow fluff in the muffin tin, creating a layered effect. The marshmallow will surround the peanut butter filling.
4. Chill:
- Place the muffin tin in the refrigerator and let the cups chill for at least 30 minutes. This allows the peanut butter filling to firm up, making it easier to work with in the next steps.
5. Chocolate Coating:
- Melt the chopped chocolate in a heatproof bowl. You can do this using a double boiler or by microwaving in short bursts, stirring between each burst. If desired, add a tablespoon of coconut oil to achieve a smoother consistency.
6. Coat the Cups:
- Once the peanut butter filling is firm, spoon the melted chocolate over each cup, ensuring that the filling is completely covered. Smooth out the tops with the back of a spoon or a spatula.
7. Set:
- Allow the Peanut Butter Marshmallow Cups to set in the refrigerator for at least 1-2 hours or until the chocolate coating is firm.
8. Enjoy the Sweet Symphony:
- Once set, pop the cups out of the muffin tin and indulge in the sweet symphony of flavors with every bite. Share with friends or savor these delightful treats as a personal indulgence.
VARIATION: CRUNCHY ADDITION
For a delightful crunch, consider adding a layer of crushed graham crackers on top of the marshmallow fluff before placing the peanut butter filling. This variation adds a hint of texture reminiscent of a classic peanut butter and marshmallow sandwich.
TIPS: SWEET SUCCESS INSIGHTS
- Peanut Butter Consistency: If the peanut butter mixture is too soft to roll into balls, place it in the refrigerator for a short time to firm up before assembling the cups.
- Easy Chocolate Coating: To avoid a messy chocolate-coating process, place the peanut butter-filled cups on a wire rack and pour the melted chocolate over them. Excess chocolate will drip through the rack, leaving you with perfectly coated cups.
- Store and Share: Keep these sweet treats refrigerated, especially during warmer weather, to maintain their shape and texture. They also make delightful gifts when packaged in decorative boxes or bags.
As you savor the delectable blend of peanut butter, marshmallow, and chocolate, relish in the satisfaction of creating a treat that tantalizes the taste buds. Whether shared with loved ones or enjoyed in quiet moments of indulgence, Peanut Butter Marshmallow Cups are a testament to the joy found in the art of crafting delightful sweets in your own kitchen.

