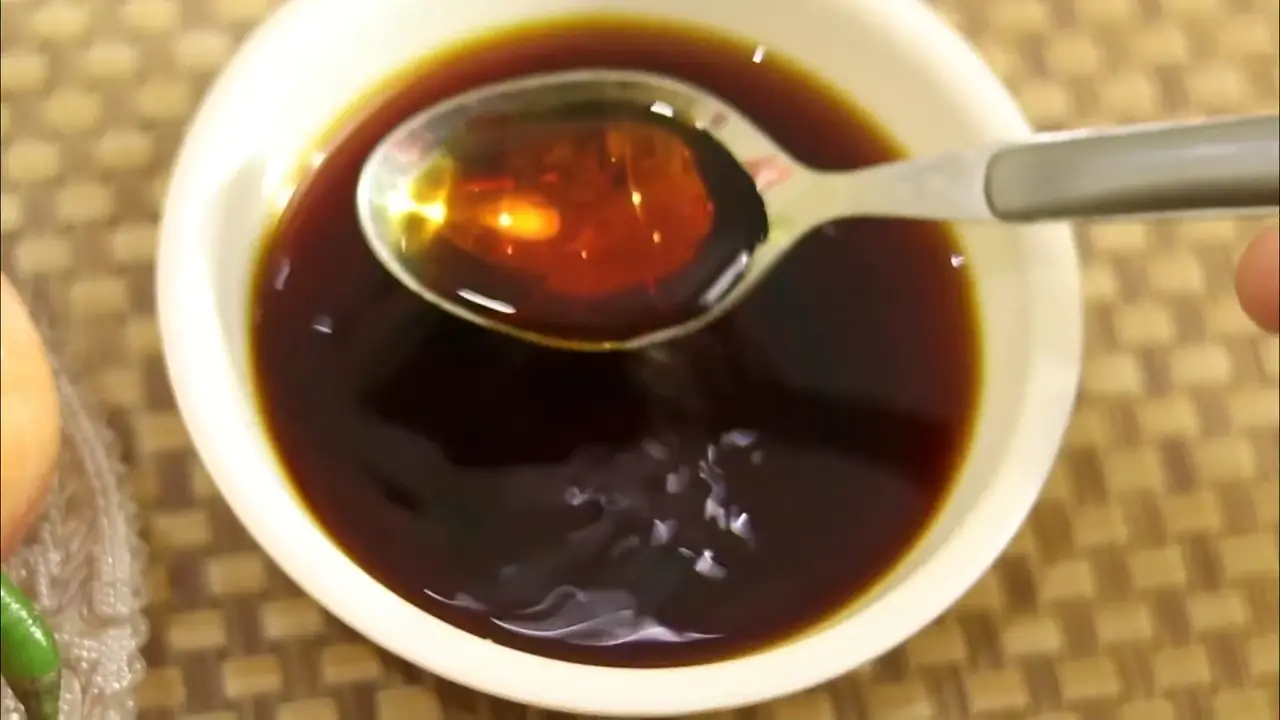
For individuals navigating a gluten-free lifestyle, certain pantry staples like soy sauce can pose a culinary challenge due to their gluten content. Fear not, as we embark on a journey to create a Homemade Gluten-Free Soy Sauce. In this culinary endeavor, we’ll craft a savory, umami-packed alternative that not only respects dietary restrictions but also enhances the depth of flavor in your dishes. Join me in unraveling the secrets to a gluten-free soy sauce that invites everyone to savor the richness of Asian-inspired cuisine without compromise.
INGREDIENTS: THE GLUTEN-FREE SYMPHONY
For the Base:
- 1 cup tamari sauce (gluten-free soy sauce alternative)
- 1/4 cup beef or vegetable broth (gluten-free)
For Umami Infusion:
- 1 tablespoon balsamic vinegar
- 1 teaspoon molasses
- 1/2 teaspoon ground ginger
- 1/2 teaspoon garlic powder
- 1/4 teaspoon white pepper
For Salty Harmony:
- 1/2 teaspoon salt (adjust to taste)
INSTRUCTIONS: THE GLUTEN-FREE CREATION
Step 1: Tamari Foundation Begin with a solid foundation by measuring out 1 cup of tamari sauce, a gluten-free alternative to traditional soy sauce. Tamari offers the same depth of flavor without the gluten content.
Step 2: Broth Bliss Add 1/4 cup of gluten-free beef or vegetable broth to the tamari sauce. This not only contributes to the liquid volume but also enhances the savory notes of your gluten-free soy sauce.
Step 3: Umami Ensemble In a small bowl, combine balsamic vinegar, molasses, ground ginger, garlic powder, and white pepper. This umami ensemble brings a rich, complex flavor profile to your sauce.
Step 4: Sweet and Savory Alchemy Pour the umami infusion into the tamari and broth mixture. Whisk the ingredients together, ensuring a seamless blend of sweet and savory notes. Adjust the quantity of molasses to achieve your preferred level of sweetness.
Step 5: Salty Harmony Add salt to the mixture, starting with 1/2 teaspoon. Taste and adjust according to your preference, keeping in mind that tamari is naturally saltier than traditional soy sauce.
Step 6: Simmer and Integrate Transfer the mixture to a saucepan and bring it to a gentle simmer over medium heat. Allow it to simmer for 10-15 minutes, letting the flavors integrate and the sauce achieve a desirable consistency.
Step 7: Cool and Strain (Optional) Let your gluten-free soy sauce cool to room temperature. If you prefer a smoother texture, strain the sauce to remove any remaining solids. This step is optional and depends on personal preference.
Step 8: Bottle and Store Once your gluten-free soy sauce has cooled and been strained if desired, transfer it to a glass bottle or jar with a tight-fitting lid. Store it in the refrigerator for an extended shelf life.
VARIATION: THE GLUTEN-FREE ADVENTURE
Feel free to customize your gluten-free soy sauce by experimenting with additional ingredients like star anise, green onions, or a touch of sesame oil. This allows you to tailor the sauce to suit various culinary creations.
TIPS: THE GLUTEN-FREE WISDOM
Tamari Selection: Choose a tamari sauce that suits your taste preferences. Tamari varies in saltiness and richness, so explore different brands to find the one that resonates with your palate.
Molasses Magic: Adjust the quantity of molasses based on your desired sweetness level. Start with a smaller amount and add more if needed.
Consistency Control: The simmering process allows you to control the consistency of your gluten-free soy sauce. Simmer for a shorter time for a thinner sauce or longer for a thicker consistency.
As you drizzle your Homemade Gluten-Free Soy Sauce over stir-fries, marinades, or dipping dishes, relish in the satisfaction of creating a culinary essential that aligns with your gluten-free lifestyle. This sauce not only unlocks a world of umami-rich possibilities but also invites everyone, regardless of dietary restrictions, to indulge in the vibrant flavors of Asian-inspired cuisine. So, let this gluten-free flavor revolution elevate your kitchen adventures, one savory drop at a time.


