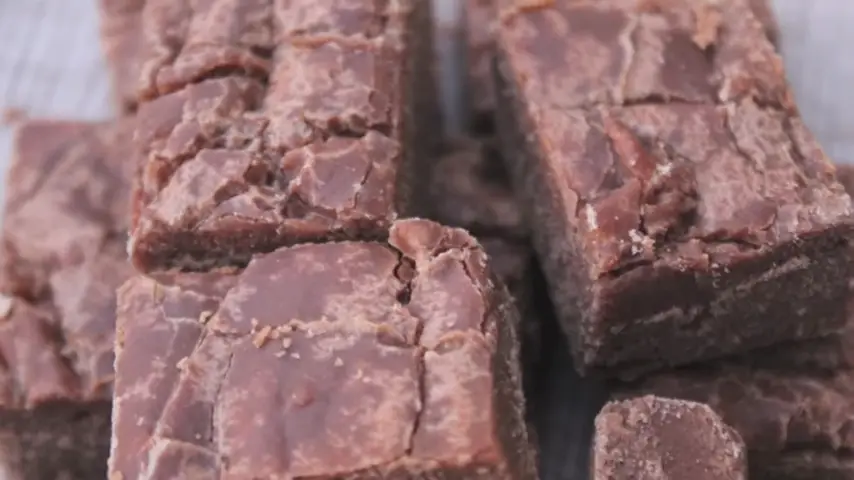
When it comes to sweet indulgences, few can rival the timeless appeal of old-fashioned fudge. This rich and velvety confection has been delighting taste buds for generations, and there’s something truly magical about its melt-in-your-mouth goodness. Whether you have fond memories of enjoying it at Grandma’s house or are simply looking to satisfy your sweet tooth, making old-fashioned fudge at home is a rewarding experience that yields delectable results. In this recipe, we’ll walk you through the process step by step, ensuring your fudge turns out perfectly every time.
Ingredients:
You will need:
- 2 cups of granulated sugar
- 1 cup of whole milk
- 2 ounces of unsweetened chocolate
- 2 tablespoons of unsalted butter
- 1 teaspoon of pure vanilla extract
- 1/2 cup of chopped nuts (optional)
- A pinch of salt
Instructions:
- Prepare Your Pan: Start by lining an 8×8-inch baking pan with parchment paper, leaving some overhang on the sides. This will make it easier to lift the fudge out later.
- Combine Sugar and Milk: In a heavy-bottomed saucepan, combine the sugar and milk. Stir them together over medium heat until the sugar has dissolved completely. This should take about 5-7 minutes.
- Add Chocolate: Break the unsweetened chocolate into pieces and add them to the saucepan. Continue to cook and stir until the chocolate has melted completely, and the mixture becomes smooth and glossy.
- Cook to Soft-Ball Stage: Insert a candy thermometer into the mixture and cook it, without stirring, until it reaches the soft-ball stage, which is around 236°F (113°C). This might take around 10-15 minutes, so be patient.
- Add Butter and Vanilla: Remove the saucepan from the heat, and add the butter, vanilla extract, and a pinch of salt. Stir vigorously until the butter has melted, and everything is well combined.
- Beat Until Thickened: Let the mixture cool for a few minutes, then beat it with a wooden spoon or a hand mixer on low speed until it thickens and begins to lose its glossy appearance. This usually takes about 5-7 minutes.
- Add Nuts (Optional): If you’re a fan of nutty fudge, now is the time to stir in your chopped nuts.
- Transfer to Pan: Pour the thickened fudge mixture into the prepared pan, spreading it out evenly.
- Cool and Set: Allow the fudge to cool at room temperature for a few hours or until it’s completely set. You can speed up the process by placing it in the refrigerator for about an hour.
- Cut and Enjoy: Once the fudge is firm, use the parchment paper overhangs to lift it out of the pan. Place it on a cutting board and cut it into squares.
Tips for Perfect Fudge:
- Use a clean, dry spoon to avoid introducing moisture into your fudge mixture.
- Be patient when cooking the sugar and milk mixture. Rushing this step can result in grainy fudge.
- Make sure your candy thermometer is accurate to ensure the fudge reaches the soft-ball stage.
- If you’re adding nuts, toast them beforehand to enhance their flavor.
Variations:
1. Peanut Butter Fudge:
Add 1/2 cup of creamy peanut butter to the mixture when you add the butter and vanilla extract for a nutty twist on classic fudge.
2. Mint Chocolate Fudge:
Stir in 1/2 teaspoon of peppermint extract and a few drops of green food coloring when you add the butter and vanilla for a refreshing minty fudge.
3. White Chocolate Fudge:
Replace the unsweetened chocolate with white chocolate chips for a sweeter, creamier fudge.
Old-fashioned fudge is a delightful treat that transcends time. The process of making it is as enjoyable as savoring the finished product. Whether you stick to the classic recipe or explore tantalizing variations, the result will always be a piece of pure nostalgia and indulgence. So, gather your ingredients, follow the steps diligently, and relish in the joy of creating a sweet masterpiece that pays homage to the past while tantalizing the taste buds of the present. Homemade fudge is not just candy; it’s a piece of edible history that you can enjoy with every velvety bite.