The enchanting aroma of caramelized brown sugar dances through the air, invoking nostalgic memories of grandma’s kitchen. The sweet symphony of simplicity and indulgence plays a delightful tune as you embark on the journey of making Easy Penuche Fudge. Penuche Fudge, also known as “brown sugar fudge,” is a delightful confection that bridges generations with its timeless appeal.
Crafting this luscious treat is an art in itself. The combination of just a few basic ingredients yields a dessert that effortlessly conquers the hearts of those fortunate enough to taste it. In this blog post, we will delve into the secrets of creating Penuche Fudge that is soft, creamy, and downright irresistible.
Ingredients: Building Blocks of Sweet Perfection
- 2 cups of light brown sugar
- 1 cup of granulated sugar
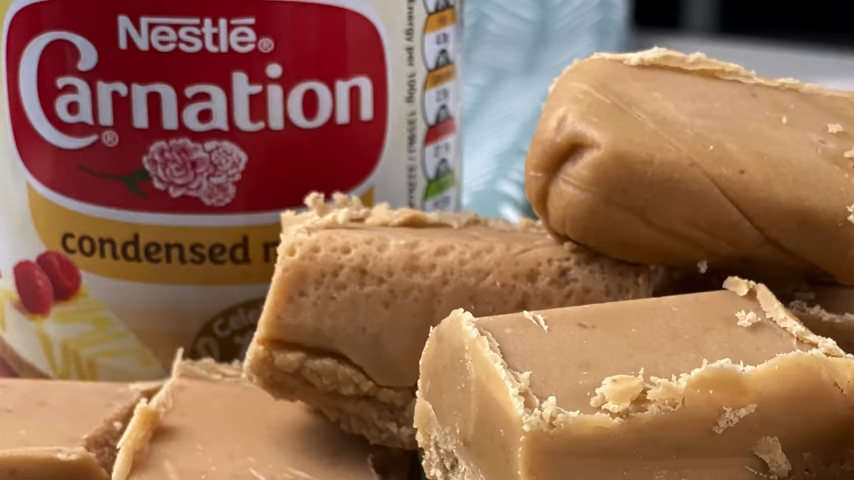
- 1 cup of whole milk
- 2 tablespoons of unsalted butter
- 1 teaspoon of pure vanilla extract
- A pinch of salt
Instructions: Crafting the Sweet Symphony
- Prepare the Pan: Begin by greasing an 8×8-inch square baking pan and lining it with parchment paper, leaving some overhang for easy removal.
- Combine Ingredients: In a heavy-bottomed saucepan, combine the light brown sugar, granulated sugar, milk, and a pinch of salt. Stir over medium heat until the mixture starts to boil.
- Cook to Soft-Ball Stage: Using a candy thermometer, cook the mixture, stirring frequently, until it reaches the soft-ball stage, which is approximately 236-240°F (113-116°C).
- Remove from Heat: Once it reaches the desired temperature, remove the saucepan from heat and add the unsalted butter. Allow the mixture to cool to 110°F (43°C) without stirring.
- Beat and Add Vanilla: When the mixture has cooled, add the pure vanilla extract and beat vigorously until it thickens and loses its glossy appearance. This should take about 5-7 minutes.
- Pour into the Pan: Pour the creamy mixture into the prepared pan and let it set for about an hour at room temperature or in the refrigerator until it is firm.
- Cut into Squares: Once the fudge is set, use the parchment paper overhang to lift it out of the pan. Cut it into bite-sized squares and serve.
Variation: Adding a Personal Touch
While classic Penuche Fudge is a delightful treat on its own, you can elevate its taste and texture with some creative variations:
- Nutty Delight: Sprinkle chopped nuts (walnuts, pecans, or almonds) over the fudge before it completely sets for a delightful crunch.
- Chocolate Fusion: Melt some semi-sweet chocolate chips and drizzle it over the fudge for a captivating blend of flavors.
- Fleur de Sel: Finish your fudge with a touch of Fleur de Sel sea salt for a sweet and salty sensation that’s truly divine.
- Maple Infusion: Substitute a portion of the granulated sugar with pure maple syrup for a unique twist on the classic recipe.
Tips: Mastering the Art of Penuche Fudge
- Patience is Key: Ensure you reach the soft-ball stage during cooking. Rushing this process can result in grainy fudge.
- Cool Gradually: Let the mixture cool naturally without stirring, as rapid cooling can also lead to a grainy texture.
- Whip with Gusto: Be patient while beating the fudge – it will eventually transform into a luscious, creamy texture. You’ll see a noticeable change in appearance.
- Cutting Perfection: For clean, sharp cuts, use a knife dipped in hot water and dried between each cut.
Penuche Fudge is more than just a dessert; it’s a reminder of the simple joys in life. The process of crafting this sweet masterpiece is a labor of love, filled with anticipation and satisfaction. Whether you indulge in its classic form or embrace creative variations, every bite of Penuche Fudge is a celebration of culinary artistry and cherished memories.
So, next time you crave a delectable treat that effortlessly captures the essence of time and tradition, turn to your kitchen and embrace the sweet magic of Penuche Fudge. Share it with loved ones, and let it be a bridge that connects generations through the language of indulgence. Happy baking!