Butterfinger Balls Recipe
Introduction
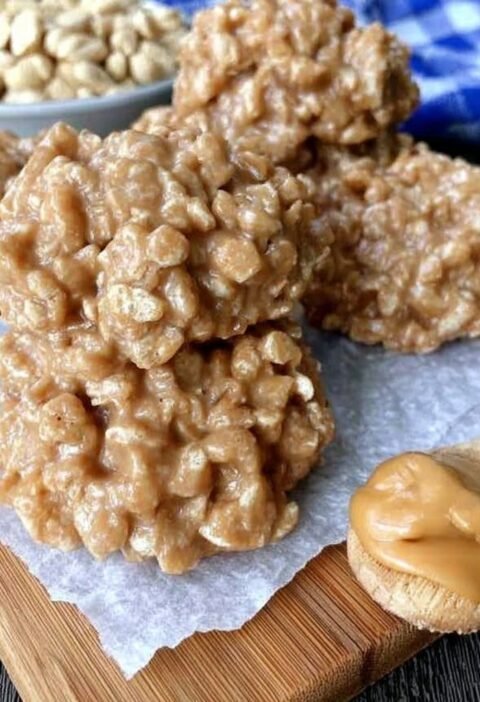
Welcome to this delicious Butterfinger Balls recipe! If you’re a fan of Butterfinger candy bars, then you’re in for a treat. These homemade Butterfinger Balls are easy to make and will satisfy your sweet tooth. Whether you’re making them for a party or just as a special treat for yourself, these bite-sized delights are sure to be a hit.
Ingredients
For this recipe, you will need the following ingredients:
For the Butterfinger Balls:
– 2 cups of creamy peanut butter
– 1 cup of powdered sugar
– 1 cup of crushed Butterfinger candy bars
– 1/2 cup of unsalted butter, melted
– 1 teaspoon of vanilla extract
For the Coating:
– 2 cups of milk chocolate chips
– 2 tablespoons of vegetable shortening
Steps
Follow these steps to make your homemade Butterfinger Balls:
Step 1: Prepare the Butterfinger Mixture
In a large bowl, combine the creamy peanut butter, powdered sugar, crushed Butterfinger candy bars, melted butter, and vanilla extract. Mix well until all the ingredients are evenly combined.
Step 2: Shape the Butterfinger Balls
Using your hands, take small portions of the mixture and roll them into bite-sized balls. Place the balls on a baking sheet lined with parchment paper. Repeat until all the mixture is used.
Step 3: Chill the Balls
Place the baking sheet with the Butterfinger balls in the refrigerator and let them chill for at least 1 hour. This will help the balls firm up and hold their shape.
Step 4: Prepare the Chocolate Coating
In a microwave-safe bowl, combine the milk chocolate chips and vegetable shortening. Microwave in 30-second intervals, stirring in between, until the chocolate is fully melted and smooth.
Step 5: Coat the Butterfinger Balls
Using a fork or toothpick, dip each chilled Butterfinger ball into the melted chocolate coating. Make sure to fully coat the ball and allow any excess chocolate to drip off. Place the coated ball back onto the parchment paper-lined baking sheet. Repeat for all the balls.
Step 6: Let the Chocolate Set
Place the baking sheet with the coated Butterfinger balls back into the refrigerator and let them chill for another 30 minutes or until the chocolate coating is fully set.
Tips and Variations
Here are some tips and variations to enhance your Butterfinger Balls:
– For an extra crunch, you can add some crushed peanuts to the Butterfinger mixture.
– If you prefer a different candy bar, you can substitute the crushed Butterfinger with your favorite candy bar of choice.
– To give your Butterfinger Balls a decorative touch, you can drizzle some melted white chocolate over the chocolate coating.
– These Butterfinger Balls can be stored in an airtight container in the refrigerator for up to one week.
Tips
When making Butterfinger Balls, keep the following tips in mind:
– Make sure to crush the Butterfinger candy bars into small pieces for easier mixing.
– If the mixture feels too sticky to work with, you can refrigerate it for a few minutes to firm it up.
– When dipping the balls into the chocolate coating, work quickly to prevent the chocolate from hardening before fully coating the ball.
Conclusion
There you have it – a simple and delicious recipe for homemade Butterfinger Balls. These little treats are perfect for any occasion and will impress your friends and family. The creamy peanut butter center combined with the crunchy Butterfinger coating creates a delightful flavor and texture. Give this recipe a try and enjoy the sweet taste of Butterfinger goodness!


