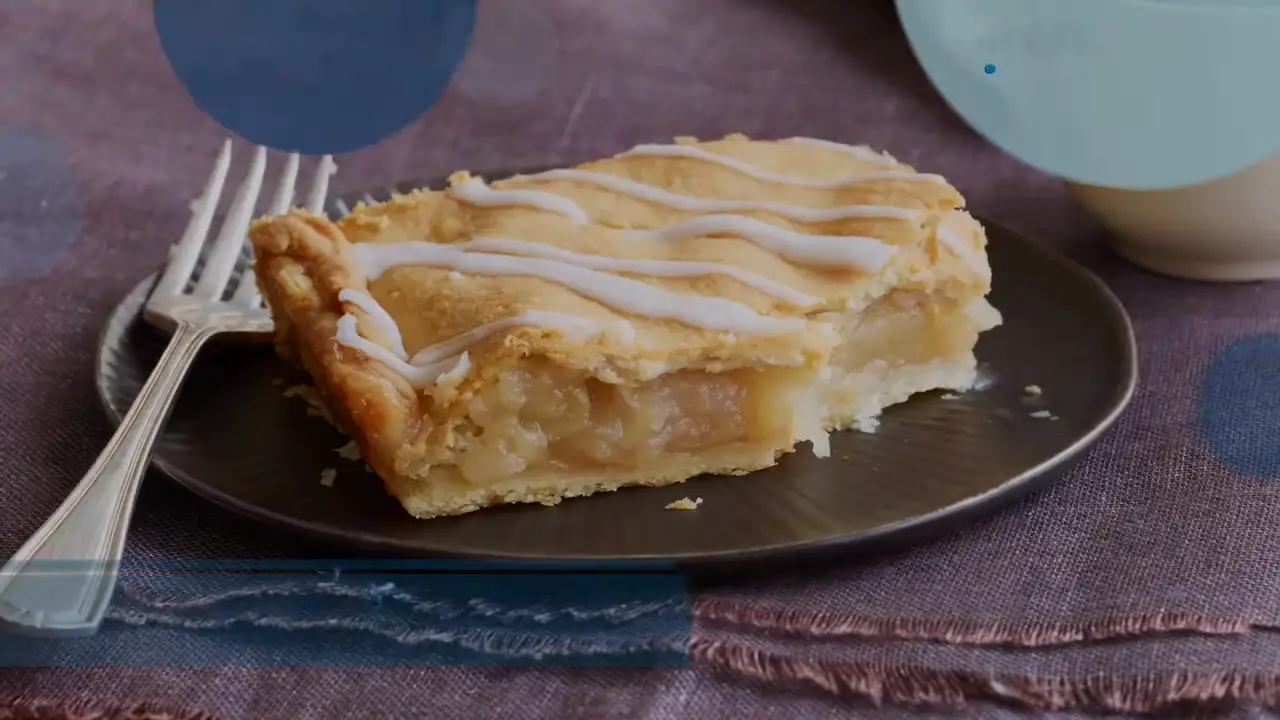
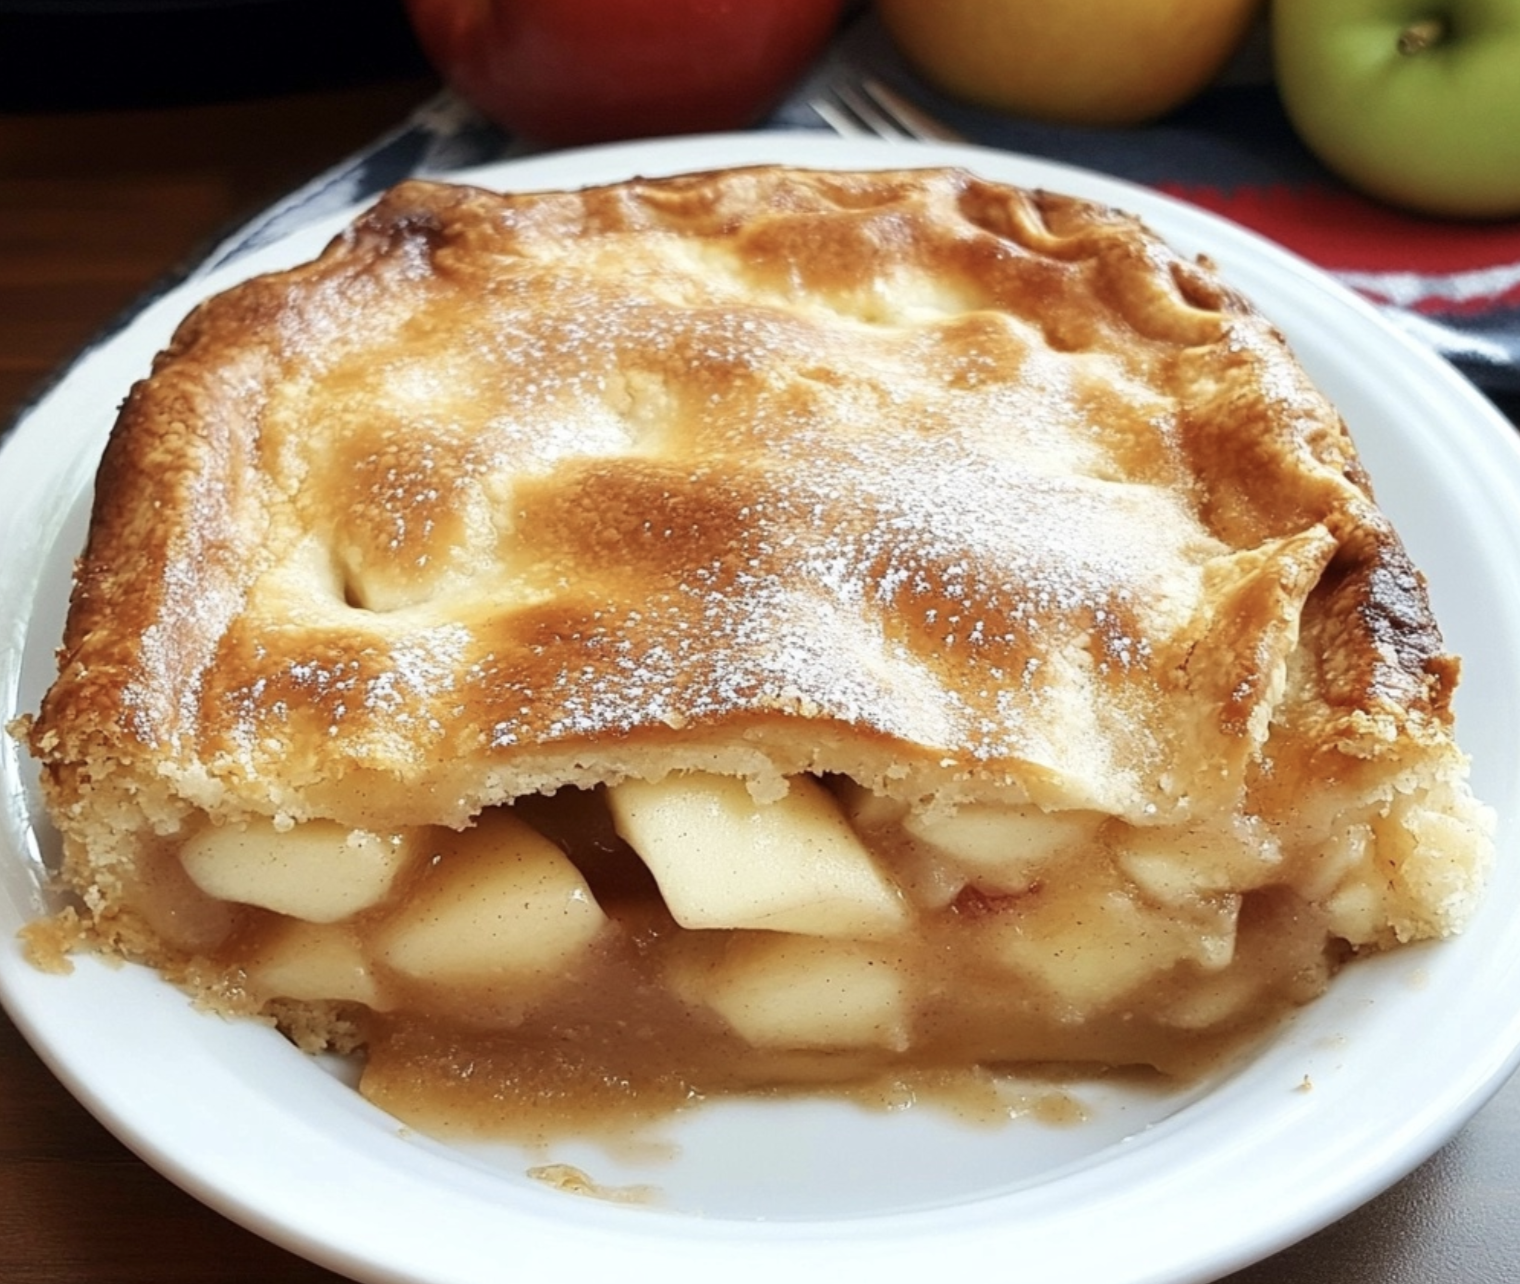
Apple Pie That Melts in Your Mouth
There’s nothing quite like the aroma of a freshly baked apple pie wafting through the kitchen. The combination of warm, cinnamon-spiced apples and flaky, buttery crust is simply irresistible. This recipe for apple pie will not only fill your home with an incredible scent, but it will also result in a pie that melts in your mouth with every bite. With a few simple ingredients and some patience, you can create a truly memorable dessert that will have everyone coming back for seconds.
Ingredients:
- 2 ½ cups all-purpose flour
- 1 teaspoon salt
- 1 cup unsalted butter, cold and cubed
- 6-8 tablespoons ice water
- 8 cups Granny Smith apples, peeled, cored, and thinly sliced
- 1 cup granulated sugar
- 1 tablespoon lemon juice
- 1 teaspoon ground cinnamon
- ¼ teaspoon ground nutmeg
- 2 tablespoons cornstarch
- 1 tablespoon unsalted butter, melted
- 1 egg, beaten
- 2 tablespoons granulated sugar, for sprinkling
Steps:
Step 1: Prepare the Pie Crust
In a large mixing bowl, combine the all-purpose flour and salt. Add the cold, cubed butter and use a pastry cutter or your fingers to cut the butter into the flour until the mixture resembles coarse crumbs. Gradually add the ice water, one tablespoon at a time, mixing until the dough comes together.
Divide the dough in half and shape each half into a disk. Wrap each disk tightly in plastic wrap and refrigerate for at least 1 hour.
Step 2: Make the Apple Filling
In a separate mixing bowl, combine the thinly sliced apples, granulated sugar, lemon juice, cinnamon, nutmeg, and cornstarch. Toss the mixture until the apples are evenly coated. Set aside.
Step 3: Roll out the Pie Crust
Preheat your oven to 375°F (190°C). Remove one disk of pie dough from the refrigerator and let it sit at room temperature for a few minutes to soften slightly. On a lightly floured surface, roll out the dough into a circle large enough to fit your pie dish.
Carefully transfer the rolled-out dough to your pie dish, gently pressing it into the bottom and sides. Trim any excess dough hanging over the edges.
Step 4: Assemble the Pie
Spoon the apple filling into the prepared pie crust, mounding it slightly in the center. Dot the top of the filling with the melted butter.
Remove the second disk of pie dough from the refrigerator and roll it out into a circle. Place the rolled-out dough over the apple filling, pressing the edges of the top and bottom crusts together to seal. Use a sharp knife to make a few slits in the top crust to allow steam to escape.
Step 5: Bake and Serve
Brush the top crust with the beaten egg and sprinkle with granulated sugar. Place the pie on a baking sheet to catch any drips and bake in the preheated oven for 45-50 minutes, or until the crust is golden brown and the filling is bubbly.
Allow the pie to cool for at least 2 hours before serving to allow the filling to set. Serve warm or at room temperature, and enjoy!
Variations:
While this classic apple pie recipe is delicious on its own, you can also experiment with variations to add your own personal touch. Here are a few ideas:
1. Streusel Topping
Sprinkle a buttery streusel topping over the apples before baking for an extra layer of sweetness and crunch.
2. Caramel Drizzle
Drizzle warm caramel sauce over the baked pie for a decadent finish.
3. Cheddar Cheese Crust
Add grated cheddar cheese to the pie crust for a savory twist that pairs perfectly with the sweet apple filling.
4. Spiced Apple Pie
Experiment with different spices like cardamom, ginger, or cloves to give your pie a unique flavor profile.
Tips:
To ensure your apple pie turns out perfectly every time, here are some helpful tips:
1. Choose the Right Apples
Opt for firm, tart apples like Granny Smith for the best texture and flavor in your pie.
2. Keep the Dough Cold
Working with cold pie dough helps create a flaky crust. If the dough becomes too soft while rolling, simply place it back in the refrigerator for a few minutes to firm up.
3. Use a Pie Shield
If the edges of your pie crust start to brown too quickly while baking, cover them with a pie shield or aluminum foil to prevent burning.
4. Let It Cool
Allowing the pie to cool for a couple of hours before slicing will ensure that the filling sets properly and makes for easier slicing.
Conclusion:
This apple pie recipe is a true classic that will never go out of style. The combination of tender, spiced apples and flaky crust is simply divine. Whether you’re baking it for a special occasion or just craving a comforting dessert, this apple pie that melts in your mouth will always hit the spot. So gather your ingredients, follow the steps, and get ready to enjoy a slice of homemade goodness.
FAQs:
Q: Can I use a store-bought pie crust instead?
A: Absolutely! While homemade pie crust adds an extra touch of flavor, you can certainly use a store-bought crust for convenience.
Q: Can I freeze the pie?
A: Yes, you can freeze the pie either before or after baking. Just make sure to wrap it tightly in plastic wrap and aluminum foil to prevent freezer burn.
Q: Can I substitute the apples with other fruits?
A: While this recipe is specifically tailored for apples, you can experiment with other fruits like pears or peaches. Just make sure to adjust the sugar and spices accordingly.
Q: How long will the pie stay fresh?
A: The pie can be stored at room temperature for up to 2 days. After that, it’s best to refrigerate it to maintain its freshness.
Now that you have all the information you need, it’s time to roll up your sleeves and get baking. Enjoy the process, the heavenly scent, and of course, the delicious apple pie that will melt in your mouth!