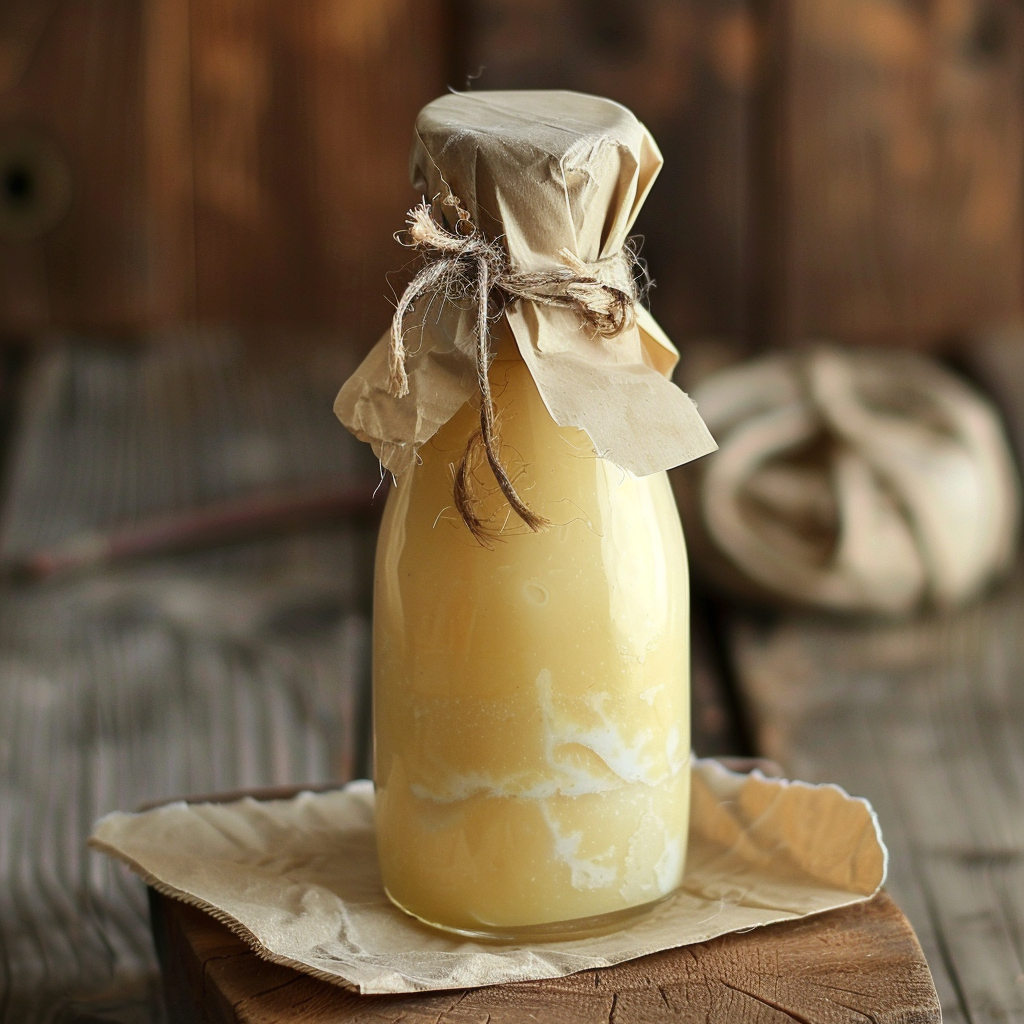
Making cheese at home is a rewarding culinary experience that allows you to create delicious and customizable varieties right in your own kitchen. From creamy mozzarella to tangy cheddar, the possibilities are endless. In this blog post, we’ll explore a simple yet satisfying recipe for homemade cheese that you can enjoy on its own or use in your favorite dishes.
Ingredients:
– 1 gallon whole milk (avoid ultra-pasteurized)
– 1/4 cup fresh lemon juice or white vinegar
– 1 teaspoon salt (optional, to taste)
– Herbs, spices, or other flavorings (optional, for customization)
Equipment:
– Large pot
– Thermometer
– Cheesecloth
– Colander
– Slotted spoon
Instructions:
Step 1: Heat the Milk
– Pour the whole milk into a large pot and heat it over medium-low heat, stirring occasionally to prevent scorching.
– Use a thermometer to monitor the temperature and heat the milk until it reaches around 185°F (85°C). Be careful not to let it boil.
Step 2: Add the Acid
– Once the milk reaches the desired temperature, remove it from the heat.
– Stir in the fresh lemon juice or white vinegar, gently stirring for about 30 seconds to evenly distribute the acid.
Step 3: Curdle the Milk
– Let the milk sit undisturbed for about 10-15 minutes to allow the curds to form.
– You will notice the milk separating into curds (solid) and whey (liquid). If the milk doesn’t fully separate, you can gently stir in a little more lemon juice or vinegar and let it sit for a few more minutes.
Step 4: Strain the Curds
– Line a colander with cheesecloth and place it over a large bowl or sink to catch the whey.
– Carefully pour the curdled milk into the cheesecloth-lined colander, allowing the whey to drain away.
Step 5: Press and Shape the Cheese
– Gather the corners of the cheesecloth and gently twist them together to form a bundle.
– Press down lightly on the bundle to remove excess whey, then shape the cheese into a round or rectangular block.
Step 6: Customize and Season (Optional)
– If desired, you can mix in salt, herbs, spices, or other flavorings to the cheese while it’s still warm for added taste and texture.
Step 7: Refrigerate and Enjoy
– Place the shaped cheese on a plate or tray and refrigerate it for at least 1-2 hours, or until it firms up and holds its shape.
– Once chilled, your homemade cheese is ready to slice, grate, or crumble and enjoy however you like!
Tips:
1. Use high-quality, fresh milk for the best results. Avoid ultra-pasteurized milk, as it may not yield as much curd formation.
2. Experiment with different types of acid, such as citric acid or buttermilk, to achieve varying flavors and textures in your cheese.
3. Don’t discard the whey! It can be used in soups, smoothies, bread-making, or as a protein-rich addition to pet food.
4. Store your homemade cheese in an airtight container in the refrigerator for up to 1-2 weeks. It’s best enjoyed within a few days for optimal freshness.
With just a few simple ingredients and basic equipment, you can create delicious homemade cheese that rivals store-bought varieties. Whether you’re a cheese-making novice or a seasoned enthusiast, this easy-to-follow recipe is sure to impress. So roll up your sleeves, get creative, and embark on your cheese-making journey – the results are sure to be grate!


