Tender Ribs in the Instant Pot
Introduction
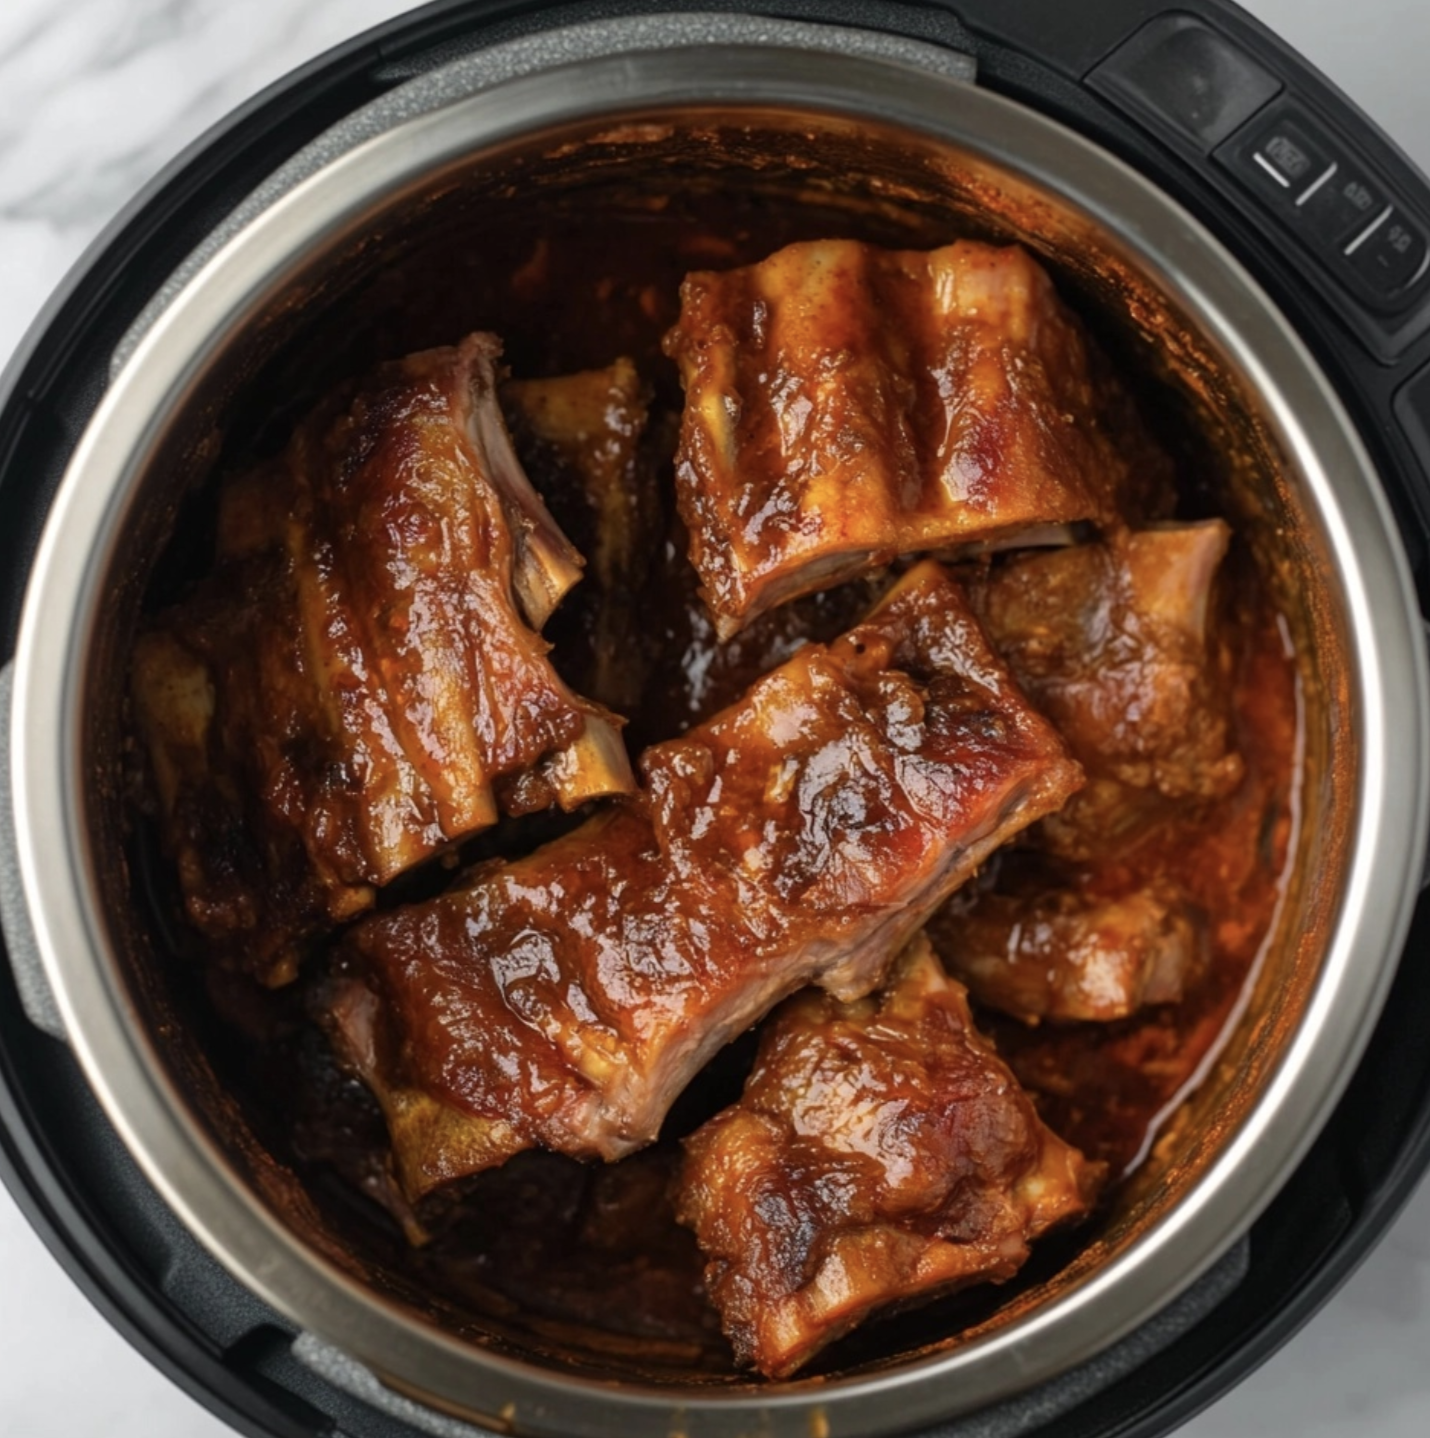
There’s nothing quite like sinking your teeth into a tender, juicy rack of ribs. And with the help of the Instant Pot, you can achieve that fall-off-the-bone perfection in a fraction of the time. This recipe will guide you through the steps to create mouthwatering ribs that are sure to impress your family and friends. Let’s get started!
Ingredients
For the ribs:
- 2 racks of baby back ribs
- 1 cup of water
- 1 teaspoon of salt
- 1 teaspoon of black pepper
- 1 teaspoon of paprika
- 1 teaspoon of garlic powder
- 1 teaspoon of onion powder
For the barbecue sauce:
- 1 cup of ketchup
- 1/4 cup of brown sugar
- 2 tablespoons of apple cider vinegar
- 1 tablespoon of Worcestershire sauce
- 1 tablespoon of Dijon mustard
- 1 teaspoon of garlic powder
- 1 teaspoon of onion powder
- 1/2 teaspoon of smoked paprika
- 1/2 teaspoon of black pepper
Steps
Step 1: Prepare the ribs
Start by removing the membrane from the back of the ribs. This will help the flavors penetrate the meat and make it more tender. To do this, slide a butter knife under the membrane and lift it up. Then, using a paper towel for grip, pull the membrane off in one piece.
Step 2: Season the ribs
In a small bowl, combine the salt, black pepper, paprika, garlic powder, and onion powder. Rub this mixture all over the ribs, making sure to coat them evenly. Let the ribs sit at room temperature for about 30 minutes to allow the flavors to penetrate the meat.
Step 3: Prepare the Instant Pot
Pour the water into the Instant Pot and place the trivet inside. The trivet will keep the ribs elevated and prevent them from sitting in the liquid. This helps to ensure that the ribs cook evenly and stay tender.
Step 4: Cook the ribs
Stack the seasoned ribs on top of the trivet, bending them if necessary to fit. Close the Instant Pot lid and set the valve to the sealing position. Select the “Manual” or “Pressure Cook” setting and set the timer for 25 minutes. The Instant Pot will take some time to come to pressure before the timer begins counting down.
Step 5: Natural release and finish on the grill
Once the timer goes off, allow the Instant Pot to naturally release the pressure for 10 minutes. Then, carefully switch the valve to the venting position to release any remaining pressure. Once the pressure has fully released, open the Instant Pot lid and carefully remove the ribs.
Preheat your grill to medium-high heat. Brush the ribs with the barbecue sauce on both sides. Place the ribs on the grill and cook for about 5 minutes per side, basting with more sauce as desired. This step will add a smoky flavor and caramelization to the ribs.
Variations
While this recipe focuses on traditional barbecue-style ribs, there are several variations you can try to customize the flavors to your liking:
- Asian-inspired: Substitute the barbecue sauce with a mixture of soy sauce, hoisin sauce, honey, ginger, and garlic for a savory and slightly sweet glaze.
- Spicy: Add a kick to your ribs by incorporating some hot sauce or cayenne pepper into the barbecue sauce.
- Sweet and tangy: Increase the amount of brown sugar and add a splash of apple cider vinegar to the barbecue sauce for a delightful balance of flavors.
Tips
- For even more flavor, marinate the ribs in the seasoning overnight in the refrigerator.
- If you prefer a charred crust on your ribs, you can broil them in the oven for a few minutes after grilling.
- Feel free to adjust the seasoning quantities to suit your taste preferences.
- Ensure the ribs are fully cooked by inserting a meat thermometer into the thickest part of the meat. The internal temperature should reach 190°F (88°C).
- To save time, you can use store-bought barbecue sauce instead of making your own.
Conclusion
With the help of the Instant Pot, you can enjoy tender, flavorful ribs without spending hours tending to a grill. The combination of pressure cooking and grilling gives these ribs a perfect texture and a delicious smoky taste. Whether you’re hosting a backyard barbecue or simply craving some finger-licking goodness, this recipe is sure to satisfy.
FAQs
1. Can I use spare ribs instead of baby back ribs?
Yes, spare ribs can be used in this recipe. Keep in mind that spare ribs may require a longer cooking time to become tender.
2. Can I make this recipe without a grill?
While grilling adds a nice smoky flavor to the ribs, you can still achieve great results by broiling them in the oven after pressure cooking.
3. Can I make the barbecue sauce in advance?
Yes, you can make the barbecue sauce ahead of time and store it in the refrigerator for up to a week.
4. How many servings does this recipe make?
This recipe makes approximately 4 to 6 servings, depending on the size of the ribs and the appetites of your guests.
5. Can I freeze the leftovers?
Absolutely! Cooked ribs can be frozen for up to 3 months. Just make sure to wrap them tightly in foil or place them in an airtight container before freezing.
Now that you have all the information you need, it’s time to gather your ingredients and start cooking. Get ready to enjoy some incredibly tender ribs that will make your taste buds dance with joy!

