Seeded Artisan Bread Dough Recipe
Introduction
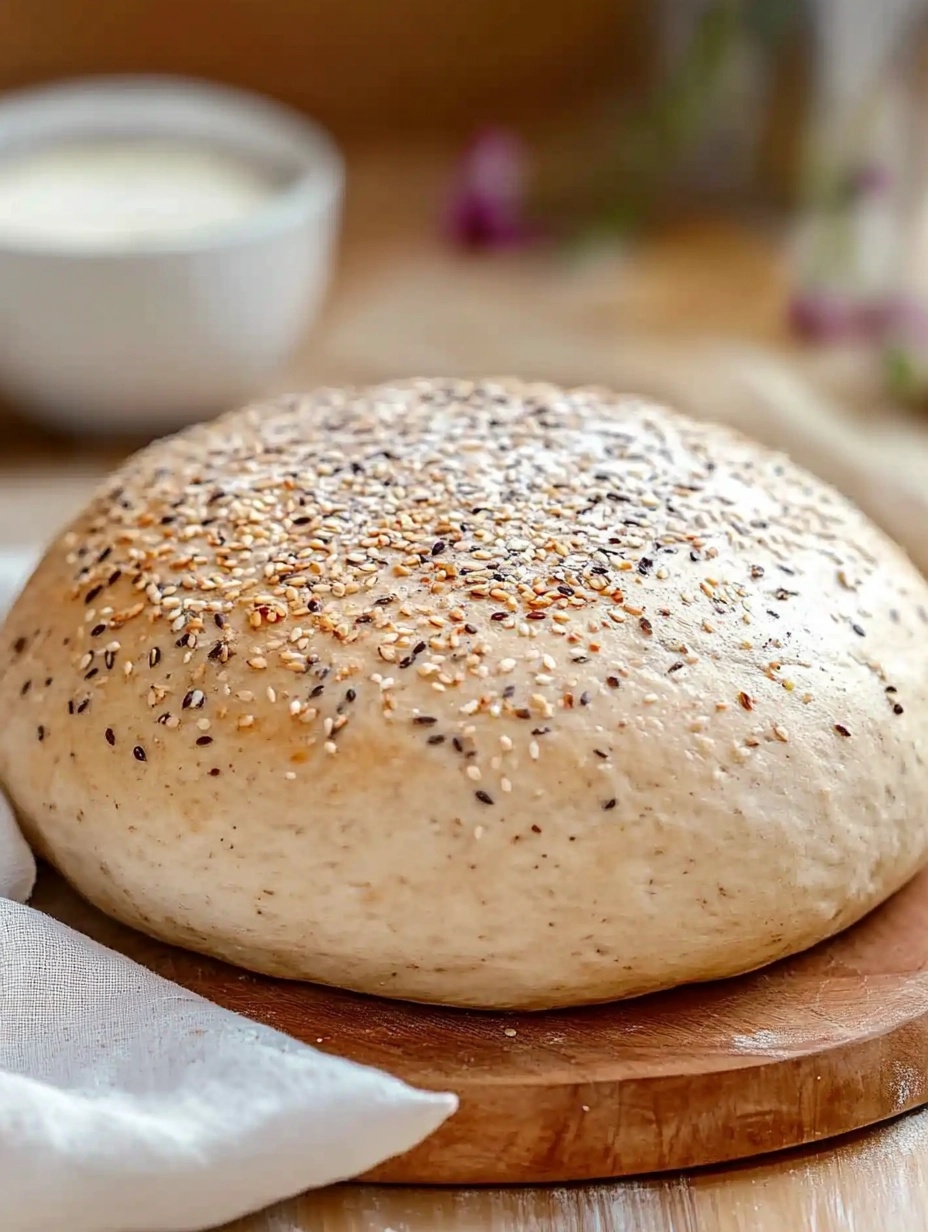
Welcome to this delicious and satisfying recipe for seeded artisan bread dough. This recipe will guide you through the process of creating a flavorful and crusty loaf of bread that will impress your family and friends. With a combination of wholesome ingredients and a variety of seeds, this bread is not only delicious but also packed with nutritional goodness. Get ready to knead, rise, and bake your way to a homemade bread that will rival any bakery!
Ingredients

To make this seeded artisan bread dough, you will need the following ingredients:
– 4 cups of bread flour
– 2 teaspoons of active dry yeast
– 2 teaspoons of salt
– 2 tablespoons of honey
– 2 tablespoons of olive oil
– 1 ¾ cups of warm water
– ¼ cup of mixed seeds (such as sesame, poppy, flax, and sunflower)
Steps
Follow these simple steps to create your seeded artisan bread dough:
Step 1: Mixing the Dough
In a large mixing bowl, combine the bread flour, active dry yeast, and salt. Mix well to evenly distribute the ingredients. In a separate bowl, whisk together the honey, olive oil, and warm water. Pour the wet ingredients into the dry ingredients and stir until a sticky dough forms.
Step 2: Kneading the Dough
Transfer the dough onto a well-floured surface. Begin kneading the dough by pushing it away from you with the heel of your hand and folding it back over itself. Continue this motion for about 10 minutes or until the dough becomes smooth and elastic.
Step 3: First Rise
Place the kneaded dough into a clean, lightly oiled bowl. Cover the bowl with a damp kitchen towel or plastic wrap and let it rise in a warm area for about 1 to 2 hours, or until the dough has doubled in size.
Step 4: Shaping the Loaf
Once the dough has risen, gently punch it down to release any air bubbles. Transfer the dough onto a lightly floured surface and shape it into a round or oval loaf. Sprinkle the mixed seeds over the top of the loaf, pressing them lightly to ensure they adhere to the dough.
Step 5: Second Rise
Place the shaped loaf onto a baking sheet lined with parchment paper. Cover it with a damp kitchen towel or plastic wrap and let it rise for another 30 to 45 minutes, or until it has doubled in size once again.
Step 6: Baking the Bread
Preheat your oven to 450°F (230°C). Once the bread has completed its second rise, carefully transfer it into the preheated oven. Bake for 25 to 30 minutes, or until the crust is golden brown and the bread sounds hollow when tapped on the bottom.
Tips and Variations
– For added flavor, you can incorporate herbs or spices into the dough. Consider adding dried rosemary, thyme, or even garlic powder to infuse the bread with a savory aroma.
– Experiment with different seed combinations to vary the texture and taste of the bread. Pumpkin seeds, chia seeds, or even crushed nuts can add a delightful crunch.
– If you prefer a softer crust, you can brush the loaf with melted butter or olive oil immediately after removing it from the oven.
Tips
– To ensure your yeast is active, dissolve it in warm water with a pinch of sugar and let it sit for about 5 minutes. If it becomes foamy and bubbly, it is ready to use. If not, your yeast may be expired and should be replaced.
– When kneading the dough, try to resist the temptation to add excessive flour, as this can result in a denser loaf. Instead, use a bench scraper or lightly oiled hands to prevent sticking.
– For a perfect rise, place the dough in a warm and draft-free area. You can create a warm environment by preheating your oven to the lowest temperature, turning it off, and placing the covered bowl inside.
Conclusion
Congratulations! You have successfully made a delicious loaf of seeded artisan bread. The combination of the crusty exterior, soft interior, and flavorful seeds makes this bread a delightful treat for any occasion. Whether you enjoy it fresh out of the oven or toasted with your favorite spread, this homemade bread will surely satisfy your cravings. Enjoy and happy baking!