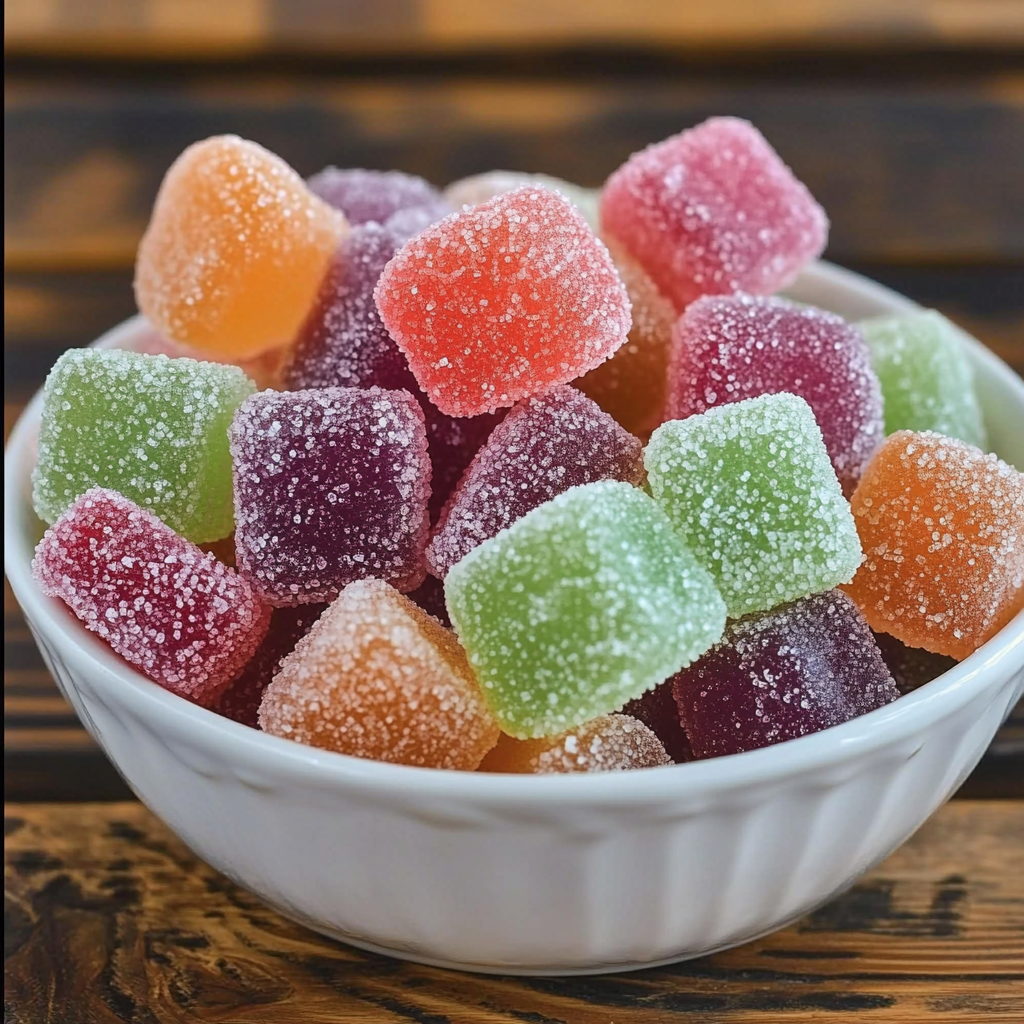
Who doesn’t love chewy, fruity gummy candies? Whether you enjoy them as a nostalgic treat or love the idea of making your own customized flavors at home, these Homemade Sugar-Coated Gummy Candies are a delight for all ages. With just a few simple ingredients and some creativity, you can create delicious, brightly colored gummy candies that rival store-bought versions. These gummies are perfect for parties, gifts, or simply satisfying your sweet tooth. Let’s dive into the recipe!
Ingredients
- 1 cup fruit juice (any flavor of your choice: orange, lemon, grape, or mixed berry)
- 3 tablespoons unflavored gelatin
- ½ cup granulated sugar
- 2 tablespoons honey or light corn syrup
- 1 teaspoon lemon juice (optional, for a tangy kick)
- Food coloring (optional, for vibrant colors)
- Additional sugar for coating
Steps
1. Prepare Your Molds:
- Start by selecting silicone molds in fun shapes like stars, hearts, or traditional gummy bear molds. Lightly spray the molds with non-stick cooking spray to ensure the gummies come out easily. Set them aside.
2. Bloom the Gelatin:
- Pour the fruit juice into a small saucepan. Sprinkle the unflavored gelatin over the juice and let it sit for about 5 minutes. This process, known as “blooming,” allows the gelatin to absorb the liquid and ensures a smooth texture in the gummies.
3. Heat the Mixture:
- After the gelatin has bloomed, place the saucepan over low to medium heat. Add the granulated sugar and honey (or light corn syrup) to the mixture. Stir constantly, making sure the gelatin and sugar completely dissolve. Do not allow the mixture to boil. This step should take about 3-5 minutes.
4. Add Flavor and Color:
- If you want to add an extra pop of flavor, stir in the lemon juice for a tangy note. You can also add food coloring to enhance the appearance of your gummy candies. Add 1-2 drops of food coloring and stir until the color is evenly distributed.
5. Pour Into Molds:
- Carefully pour the liquid gummy mixture into the prepared silicone molds. To avoid spills, use a small measuring cup or a dropper for precision. Fill each mold until it’s nearly full, but don’t overfill.
6. Chill and Set:
- Place the filled molds into the refrigerator for about 1-2 hours, or until the gummies are fully set. The gummies should be firm and easy to remove from the molds once chilled.
7. Coat with Sugar:
- After the gummies have set, remove them from the molds. Place a few tablespoons of granulated sugar in a shallow bowl and roll each gummy in the sugar to coat evenly. This step gives the candies a delightful, crunchy texture on the outside.
8. Let Them Dry:
- For a firmer texture and better sugar coating, let the sugar-coated gummies sit at room temperature for a few hours. This allows the sugar to adhere to the gummies properly and prevents them from becoming sticky.
Variations
- Sour Gummies: Add ½ teaspoon of citric acid to the sugar coating for a tangy, sour punch similar to sour gummy candies. You can adjust the amount based on your taste preference.
- Different Shapes and Sizes: Play around with different silicone molds to create gummy candies in various shapes and sizes. From gummy bears to mini dinosaurs, the options are endless!
- Layered Gummies: For a fun layered effect, pour a thin layer of one flavor/color into the mold and let it set slightly before adding a second layer of a different flavor. This creates multi-flavored gummy candies.
Tips
- Fruit Juice Options: Choose 100% fruit juice for the best flavor and color. Avoid using juices with added sugar or artificial flavors. Popular options include orange, apple, grape, and berry juice.
- Firmness: If you prefer firmer gummies, you can add an additional tablespoon of gelatin to the mixture. If you want softer, chewier gummies, reduce the gelatin slightly.
- Storage: Store your homemade gummies in an airtight container at room temperature for up to a week. For longer storage, you can refrigerate them, but make sure to keep them away from humidity as moisture can make them sticky.
- Customization: Add small pieces of dried fruit, nuts, or even sprinkles to the molds before pouring in the gummy mixture for added texture and fun surprises in each bite.
Making your own Homemade Sugar-Coated Gummy Candies is not only fun but also allows you to control the ingredients and flavors that go into each batch. Whether you prefer fruity, tangy, or sour, these chewy treats are perfect for snacking, gifting, or even for special occasions. The process is simple enough for kids to get involved, making it a great family-friendly activity. Plus, once you master the basics, you can experiment with different juice combinations, colors, and shapes to create endless varieties of your own signature gummies.
Frequently Asked Questions (FAQs)
1. Can I use powdered gelatin instead of sheets? Yes, powdered gelatin is more common in many recipes. If your recipe calls for gelatin sheets, you can substitute them with powdered gelatin. Generally, one packet of powdered gelatin (about 1 tablespoon) equals about four sheets of gelatin.
2. Can I make vegan gummies? Yes, you can use agar-agar powder as a vegan substitute for gelatin. Agar sets differently than gelatin, so follow the package instructions for the right ratio of liquid to agar powder. It also sets quicker than gelatin, so work swiftly when pouring the mixture into the molds.
3. How do I prevent my gummies from becoming too sticky? To avoid sticky gummies, ensure you properly coat them in sugar after they’ve set. Also, allowing them to air dry for a few hours helps reduce stickiness. If stored in a humid environment, the gummies can absorb moisture, making them sticky.
4. Can I use other sweeteners instead of sugar? Yes, you can substitute the sugar with other sweeteners like agave syrup or stevia, but the texture and sweetness levels may vary. Be sure to adjust the amounts based on the sweetness of your alternative sweetener.
5. How do I add a sour flavor to my gummies? For a sour taste, mix a small amount of citric acid (available at baking or candy supply stores) into the sugar coating. Start with ½ teaspoon and adjust to taste. Be cautious, as too much citric acid can make the candies too tart.